
From Idea to Ink: How Custom Tattoos Are Created
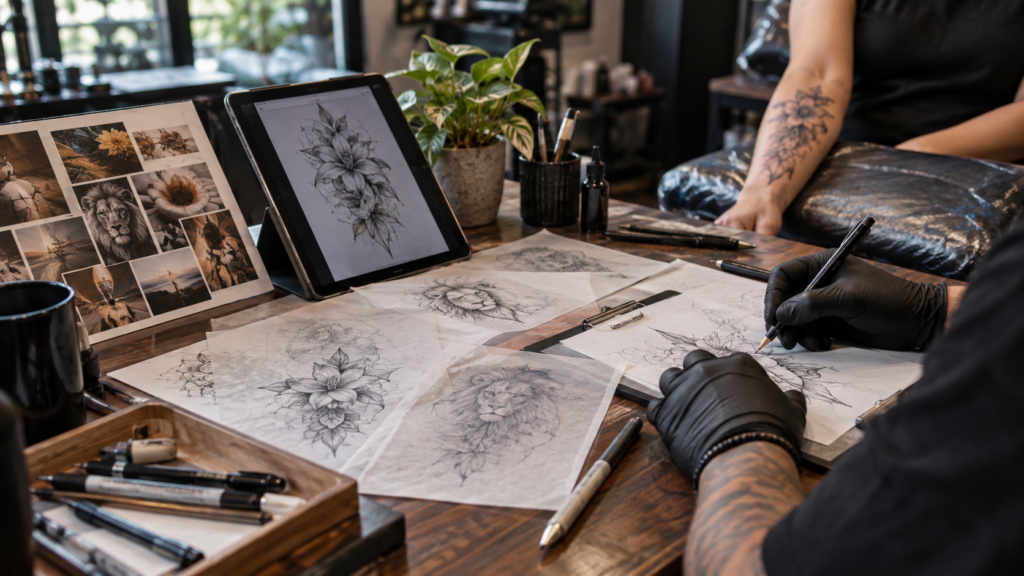
One of the most common questions people ask before getting a tattoo is, “How does a custom tattoo actually get created?”
Many people see the finished tattoo on social media but rarely see everything that happens before the tattoo machine even turns on.
The truth is that the best tattoos don’t start with ink. They start with an idea.
Sometimes it’s a memory. Sometimes it’s a person, a belief, a life experience, or simply an image that has been stuck in your mind for years.
At Orang Tattoo, every custom tattoo begins with a conversation. The goal isn’t just to create a tattoo that looks good. The goal is to create a tattoo that feels personal and meaningful while ensuring it works perfectly on the body.
Let’s take a look at the complete custom tattoo design process and how an idea slowly transforms into a finished piece of artwork.
Step 1: The Initial Idea
Every tattoo starts somewhere.
Some clients arrive with a clear vision and detailed reference images. Others simply know they want a tattoo but aren’t exactly sure what they want yet.
Both situations are completely normal.
A tattoo idea can come from:
- Personal experiences
- Family memories
- Spiritual beliefs
- Nature
- Animals
- Quotes
- Symbols
- Art and culture
At this stage, there are no right or wrong ideas. The purpose is simply to understand the story behind the tattoo.
Often, the meaning behind the tattoo becomes the foundation of the final design.
Step 2: The Consultation
Once the idea is clear, the consultation begins.
This is one of the most important parts of the entire process.
During the consultation, the artist learns more about:
- The purpose of the tattoo
- Preferred style
- Placement
- Size
- Personal preferences
- Future tattoo plans
Many people think a consultation is just a quick discussion, but it often shapes the success of the final tattoo.
Sometimes a small suggestion during this stage can improve the design significantly.
This is also when questions about realism, sizing, details, healing, and placement are discussed.
Step 3: Collecting References
Reference images help communicate ideas more clearly.
A client may bring:
- Pinterest inspiration
- Existing tattoos
- Artwork
- Photographs
- Sketches
However, references are not used for copying.
Instead, they help the artist understand the direction, mood, and style the client prefers.
For example, someone may like the eyes from one image, the shading from another, and the composition from a third.
These references become building blocks rather than the final design itself.
Step 4: Creating the Custom Design
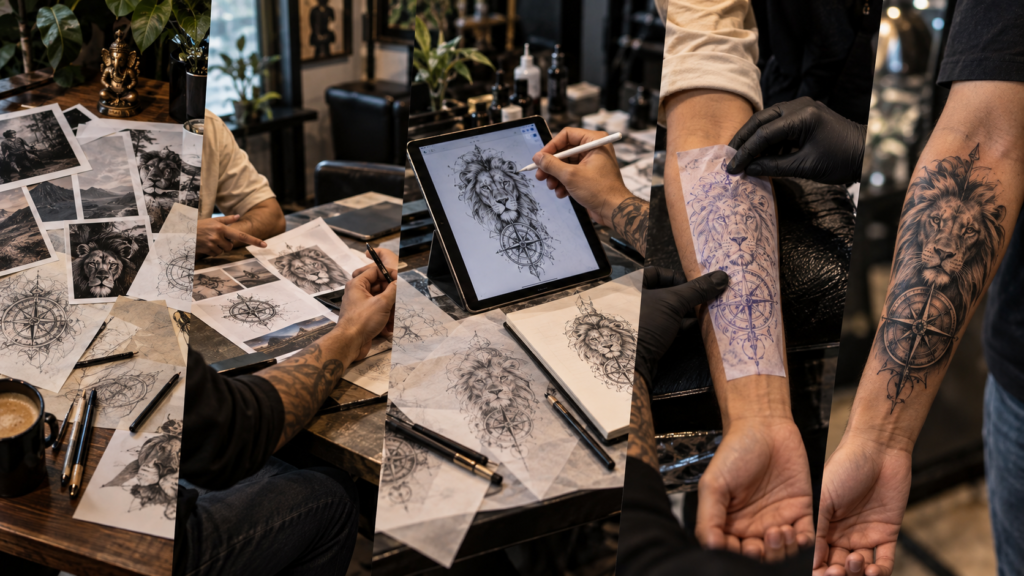
This is where creativity takes over.
Using the consultation notes and references, the artist starts building the custom design.
This stage may involve:
- Hand sketches
- Digital drawing
- Layout planning
- Design adjustments
- Placement mockups
Every element is carefully considered.
The tattoo should not only look beautiful on paper but also fit naturally on the body.
This is one of the biggest differences between custom tattoos and copied designs.
Custom artwork is created specifically for the individual wearing it.
Step 5: Placement Planning
A great tattoo isn’t just about the artwork itself.
Placement matters just as much.
The same design can look completely different depending on where it’s placed.
During placement planning, factors such as body shape, muscle movement, available space, and future tattoos are considered.
A properly placed tattoo often looks more natural and visually balanced.
This step ensures the artwork flows with the body rather than simply sitting on top of it.
Step 6: Refining the Details
Before tattooing begins, the design goes through a final review.
This is where adjustments are made if needed.
Clients may request:
- Small design changes
- Additional elements
- Different sizing
- Placement refinements
This stage helps ensure everyone is completely satisfied before moving forward.
It’s much easier to make changes on paper than after the tattoo is completed.
Step 7: Preparing for the Tattoo Session
Once the design is approved, preparation begins.
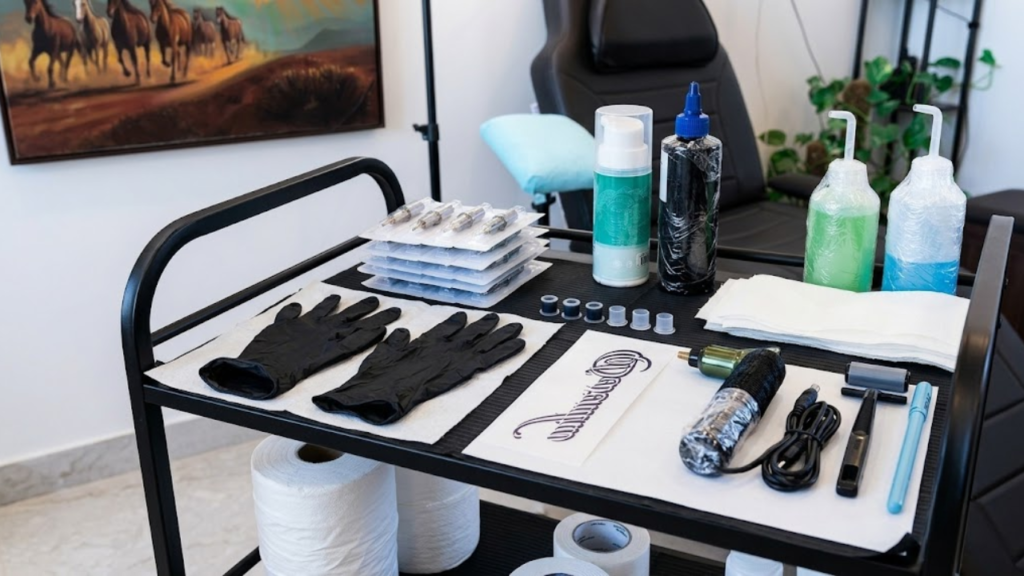
The workstation is set up using strict hygiene standards.
Equipment is prepared, supplies are organized, and the stencil is created.
At Orang Tattoo, hygiene is one of the most important parts of the process. A clean and professional environment helps clients feel comfortable and confident throughout the session.
Before tattooing starts, the stencil is carefully positioned and checked one final time.
Step 8: Bringing the Design to Life
This is the moment most clients have been waiting for.
The tattooing process begins.
Depending on the size and complexity of the design, the tattoo may take a few hours or multiple sessions.
The artist gradually builds the tattoo through:
- Linework
- Shading
- Contrast
- Details
- Final refinements
For realism tattoos, special attention is given to depth, texture, and smooth transitions to create a lifelike appearance.
Slow and careful work usually produces the best results.
Step 9: Aftercare and Healing
The tattoo isn’t truly finished when the session ends.
Healing is an important part of the journey.
Clients receive aftercare instructions that explain how to:
- Clean the tattoo
- Moisturize properly
- Protect the skin
- Support healthy healing
Following these instructions helps preserve the quality of the tattoo and ensures the artwork heals as intended.
Final Thoughts
The custom tattoo design process is much more than simply choosing a design and getting tattooed.
It’s a journey that begins with an idea, develops through collaboration, and eventually becomes a permanent piece of art.
At Orang Tattoo, every custom tattoo is approached with careful planning, creativity, attention to detail, and a strong focus on hygiene and quality.
Because the best tattoos aren’t just created with ink—they’re created with thought, meaning, and purpose.